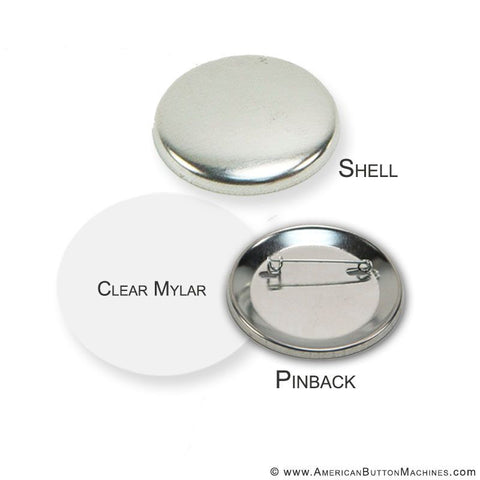
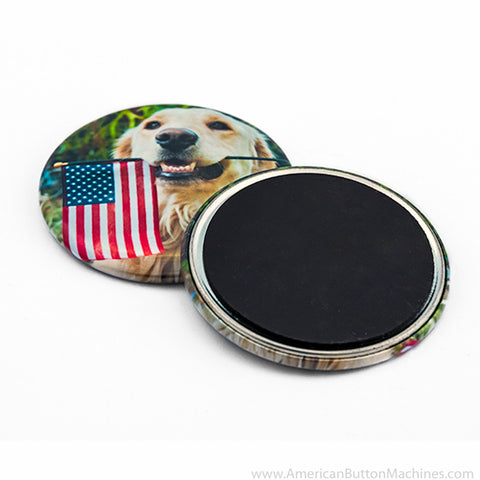
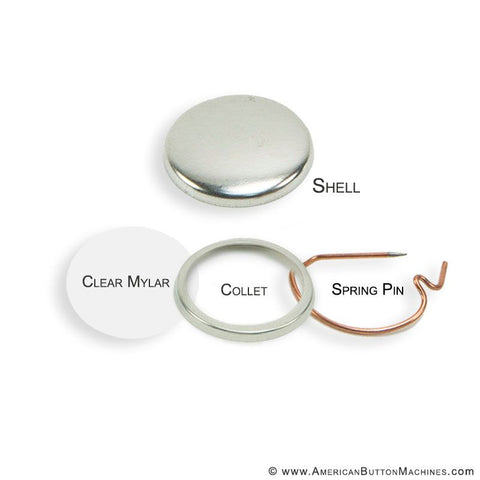
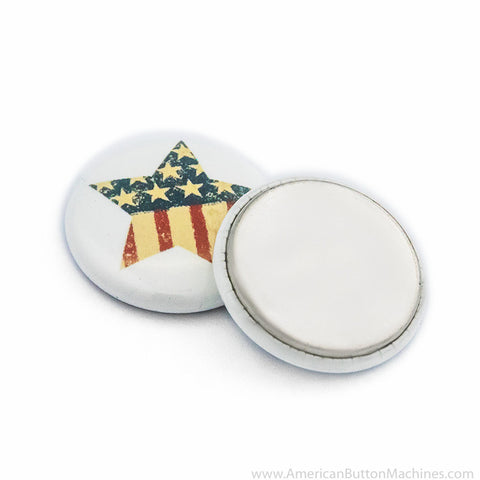
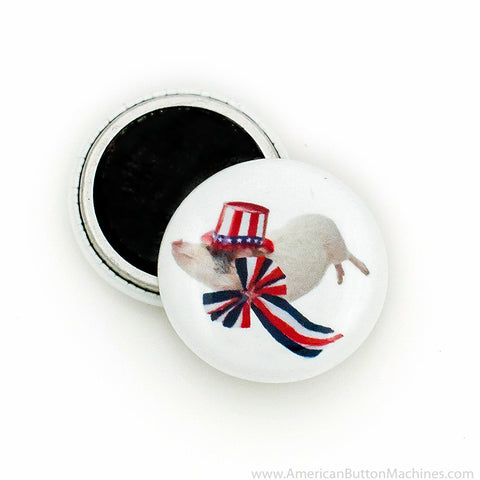
1" Round Mylar discs are the clear, glossy plastic covers that seal and protect the artwork on every 1" button you make. Each pack contains 1,000 pre-cut discs at the industry-standard 1.313" diameter, sized to wrap around the metal shell and lock your printed graphic in place during the press cycle.
Replacement mylar is the supply most 1" button makers run out of first. This pack is the standalone reorder for photographers, funeral homes, crafters, and home button makers working through high volumes — or anyone who would rather not be one bad press away from a stalled production run.
1" Round Mylar Specifications
| Size | 1.313" round (industry-standard cut size for 1" button machines) |
|---|---|
| Thickness | 3 mil (0.003") — industry standard |
| Quantity | 1,000 discs per package |
| Material | Clear polyester mylar film |
| Finish | High-gloss, crystal clear |
| Compatibility | Designed and tested with American Button Machines' full 1" supply lineup — shells, collets, pinbacks, magnets, and key-chain backs |
| SKU | Mylar-100 |
| Best For | Photo buttons, memorial keepsakes, jewelry blanks, wedding favors, replacement supply for existing 1" button-making operations |
What Mylar Does in the Button
Mylar is the thin, clear protective covering that sits on top of your printed artwork during the button-making process. When the press cycles, the disc is sealed between the metal shell and the artwork, wrapping the edges and creating a smooth, glossy face that shields your design from fingerprints, dirt, moisture, and everyday wear.
Without a mylar covering, the paper artwork would be exposed directly to the elements — leading to smudged ink, faded colors, and a button that looks worn out after a handful of uses. The clear film is what gives a finished button its protected, retail-ready appearance, and on a 1" face it does double duty: at this small a size, every detail in the print is magnified, so the optical clarity and flatness of the disc directly affects how the button reads under good light.
Who Uses 1" Round Mylar
Photographers & Photo Studios
The 1" button is where small-format photo work lives — engagement keepsakes, school portrait giveaways, event photo booths, and pet portrait pieces a parent can pin to a backpack strap. At this size, every detail in the print is magnified, so the clarity and flatness of the mylar disc directly affects how the finished photo button looks. Studios pressing photo buttons in any volume keep the 1,000-pack on the shelf as their primary consumable.
Funeral Homes & Memorial Services
1" memorial buttons are popular for celebration-of-life programs. The size is small enough to wear on a lapel or pinned to a remembrance ribbon without competing with the photo for attention, and discreet enough for visitations. Funeral directors keep mylar in stock so they can produce keepsake buttons for grieving families on short notice without waiting on a supply order.
Crafters & Etsy Sellers
1" charm-bracelet pieces, earring blanks, zipper pulls, and lapel pins all share the same 1" shell-and-mylar combination as a standard pinback button. For makers selling small-format jewelry, the 1" mylar is the supply that runs out fastest because every finished piece consumes one. The 1,000-pack is the standard reorder size for active Etsy shops and craft-fair vendors.
Wedding & Event Favors
A 1" pinback or magnet sits comfortably on a place setting card or favor bag without overwhelming the table. Couples making their own button favors order mylar in the 1,000-pack to comfortably cover guest counts, plus seating-chart buttons, kids'-table favors, and the inevitable do-overs that come with first-time button making.
Hobbyists & Replacement Buyers
Most reorders for 1" mylar come from people who already own a 1" button maker and have run out — usually because mylar is the supply that gets damaged or wasted most often during a production run. The 1,000-pack is sized to last well past the next batch of shells and pinbacks, so the next reorder cycle is on supplies, not film.
How to Use Mylar in Your Button Maker
Mylar is the last layer added before pressing. The standard 1" button assembly sequence:
- Cut your printed graphic to 1.313" — the same diameter as the mylar disc — using a circle cutter or punch sized for 1" buttons. Scissors do not produce a clean enough edge at this size.
- Place the metal shell face-up (sharp side down) into the first die.
- Layer the printed graphic on top of the shell, design facing up.
- Place a single mylar disc on top of the artwork. Use only one — stacked mylar is the most common cause of incomplete crimps and edge bubbles.
- Pull the handle to press and seal. The mylar wraps around the shell edges, locking the artwork in place under a glossy finish.
New to button making? See the walkthrough for how to make a pinback button or browse the full video tutorial library.
Pro Tips for Working with 1" Mylar
- Fan the stack before loading. Mylar discs cling together from static. Fan the edge of the stack the way you would playing cards, then peel one disc off at a time. Picking up two at once is the most common cause of incomplete crimps.
- Match the cut size exactly. Both the printed graphic and the mylar disc should be 1.313" round. A graphic that is a millimeter too large will leave a paper edge sticking out past the wrap; one that is too small leaves a visible gap. Use a 1" punch or die cutter rather than scissors.
- Stick with 24 lb standard copy paper. Cardstock is too thick to crimp cleanly at this size, and very thin paper (under 20 lb) tends to fold inside the shell. Bond paper or 24 lb laser/inkjet paper presses cleanly, and the mylar provides the gloss — no photo paper needed for a sharp finish.
- If the mylar bubbles or pulls away from the edge, suspect your laser printer. Toner contains a wax that can cause mylar to slip during crimping, especially on full-bleed designs. Press a button on plain paper to confirm — if the plain test crimps cleanly, toner is the cause. The fix is either a silicone stick applied to the tapered edge of the crimp die, or pulling your design's bleed back by 0.125" so toner does not reach the wrap edge. The full walkthrough is in our blog post on common crimping issues.
- Store flat and dry. Keep unused mylar in the original packaging, away from heat and humidity. Warped or curled discs do not seat properly in the pickup die.
- Wipe before pressing on dusty days. A quick swipe with a soft cloth keeps tiny particles from getting trapped under the mylar, where they show up as visible bumps on the finished button face.
Compatible Machines & Related Supplies
This 1" mylar is sized to work with all of ABM's 1" button-making supplies. Mylar is included with every complete button parts set we sell — this standalone 1,000-pack is the replacement reorder for when production outpaces the next supply order.
Frequently Asked Questions
What size mylar do I need for 1" buttons?
1.313" round. The mylar disc is intentionally larger than the 1" finished button face so it can wrap around the metal shell and lock the artwork inside during pressing. The printed graphic should be cut to the same 1.313" size — both pieces match.
Do I always need mylar to make a button?
Yes. The clear disc seals the artwork against fingerprints, moisture, and everyday wear, and it provides the glossy face that gives a finished button its retail-ready look. Without mylar, the paper graphic is exposed and degrades almost immediately.
How many buttons does a 1,000-pack make?
Up to 1,000 buttons — one disc per button. We recommend keeping extra on hand because discs occasionally stick together from static or get scratched in handling, so the practical usable count tends to come in slightly under the package count.
What kind of paper works best with this mylar?
Standard 24 lb copy paper or bond paper, printed on either an inkjet or laser printer, is the recommended weight for 1" buttons. The mylar adds the gloss, so photo paper is not necessary to produce a sharp, photo-ready finish. Cardstock is too thick to crimp cleanly at this size, and very thin paper tends to fold inside the shell during pressing.
Why is my mylar bubbling at the edge or pulling away from the button?
This is almost always a laser-printer issue rather than a defective mylar. Toner contains wax that can cause the mylar to slip during the crimp, particularly on designs with a full bleed where toner reaches the very edge of the cut. Press a button on plain paper to confirm — if it crimps cleanly, toner is the cause. The fix is either applying a silicone stick to the tapered edge of the crimp die, or pulling your design's bleed back by 0.125" so the toner does not reach the wrap edge.
Can I get a matte finish instead of glossy?
ABM does not sell a matte version of mylar. The two common workarounds are to laminate the printed sheet with clear matte contact paper before cutting (then press without mylar), or to use a single-sided laminating pouch in place of the mylar disc. Both produce a non-reflective face, which can be useful for portrait photo buttons where flash glare is a concern.
Will this mylar work in a non-ABM 1" button machine?
1.313" is the industry-standard cut size for round 1" button presses, so this disc fits standard 1" tooling. We design and test it specifically against ABM's 1" supply lineup. If you are coming from a machine of unknown size and want to confirm before ordering, our free button-making templates can be printed at actual size to check the dimensions.
We Also Recommend